Why Whiten Teeth in Photos
In the age of social media and digital self-expression, your smile is often the first thing people notice. Whiter teeth can significantly enhance your appearance in photos, boosting confidence and leaving a positive first impression. Whether it’s for a professional headshot, a vacation photo, or a casual selfie, whitening teeth in pictures can make a world of difference. It’s about enhancing the natural beauty of your smile and ensuring that your photos reflect the best version of yourself. Furthermore, the process is not always about altering reality; it is about correcting the imperfections that can appear in images due to lighting, shadows, or even the angle of the photograph. With the right techniques, you can achieve a brighter, more appealing smile that looks both natural and radiant. So, let’s dive into the steps to make your smile shine.
The Importance of a Bright Smile
A bright smile is universally recognized as a sign of health, happiness, and youthfulness. It can instantly make you appear more approachable, friendly, and confident. A study even suggests that a bright smile can influence how others perceive your personality and competence. In photographs, this translates into a more engaging and attractive image. Stained or discolored teeth, on the other hand, can detract from an otherwise perfect picture, drawing attention away from your features and possibly giving an impression of poor dental hygiene. Whitening your teeth in photos helps to counteract these issues, ensuring that your smile is a focal point that enhances the overall composition of the image. Whether you’re posting online or creating prints, a brighter smile is a powerful asset.
Understanding Photo Editing for Teeth Whitening

Teeth whitening in photo editing is not about a radical transformation, but a subtle enhancement. The goal is to create a natural, believable look that complements your overall appearance. The techniques used range from simple adjustments of brightness and contrast to more advanced tools like selective color correction and the use of whitening brushes or tools. The best approach involves a balanced strategy that considers the specific image, the lighting, and your desired result. Overdoing it can result in an unnatural, artificial appearance that viewers will immediately recognize. The key is to work gradually, assessing the changes and making incremental adjustments until you achieve the desired effect. The tools and techniques are readily available in most photo editing software programs, making it accessible to anyone who wants to improve their photos.
Choosing the Right Photo Editing Software
The market offers a wide range of photo editing software, each with its own strengths and weaknesses. Some popular options include Adobe Photoshop, GIMP (a free and open-source alternative), and mobile apps like Snapseed and VSCO. Photoshop provides the most comprehensive set of features and is ideal for users seeking professional-grade results. GIMP is a powerful, cost-free alternative that offers many of the same functionalities. Mobile apps are perfect for quick edits on the go and often come with user-friendly interfaces designed for touchscreens. When choosing software, consider your skill level, the complexity of the edits you need, and the platform you prefer. Experimenting with free trials or versions can help you determine which software best suits your requirements. The key features to look for are tools for precise selection, color adjustments, and the ability to apply changes selectively to specific areas of the image, like the teeth.
Step 1 Open Your Image
Start by opening the photo you want to edit in your chosen software. Make sure the image is of high resolution to allow for detailed editing without losing quality. In Photoshop or similar software, you’ll typically find the ‘Open’ command under the ‘File’ menu. If you are using a mobile app, the process is often as simple as tapping an ‘Import’ or ‘Gallery’ button. Once the image is open, take a moment to assess it, noting any areas that may need adjustments. Consider the overall lighting, the exposure of your teeth, and any other elements that might affect how you approach the teeth whitening process. This preliminary assessment will set the stage for a more efficient and effective editing process. The better the initial image quality, the better the final outcome will be.
Step 2 Select the Teeth

Precise selection is critical for effective teeth whitening. Using a selection tool, carefully outline the teeth in the image. Photoshop’s ‘Lasso Tool,’ ‘Pen Tool,’ or ‘Quick Selection Tool’ are excellent choices for this. In mobile apps, you might find similar selection options or tools specifically designed for this purpose. Zoom in close to the teeth to ensure accurate selections, paying close attention to the edges of the teeth to avoid selecting any surrounding gums or areas. If the selection isn’t perfect the first time, most software allows you to refine it. Once the teeth are selected, you can isolate them and apply adjustments without affecting the rest of the image. This selective approach ensures that your whitening efforts are focused and targeted.
Step 3 Adjust Brightness & Contrast
Once the teeth are selected, adjust the brightness and contrast. Increasing the brightness can make the teeth appear whiter, while subtle adjustments to contrast can add depth and definition. However, proceed cautiously; over-adjusting can result in an unnatural appearance. Begin with small increments, reviewing the changes after each adjustment. You’re aiming for a brighter smile that looks consistent with the overall lighting of the image. In most software, you’ll find these controls under the ‘Adjustments’ or ‘Image’ menu. Experiment with these settings until you achieve a balanced result. It’s also important to consider the overall image’s lighting conditions. If the entire photo is dark, your adjustments must be adjusted accordingly to match the environment. Remember that subtle changes are often more effective than drastic ones.
Step 4 Use the Whitening Tool
Most photo editing programs include a dedicated ‘Whitening Tool’ or brush. This tool allows you to selectively apply a whitening effect to the teeth. The tool’s strength and opacity can be adjusted to control the intensity of the effect. Start with a low opacity and gently brush over the selected teeth. Build up the effect gradually, rather than applying too much at once. Zoom in for precision, ensuring that you apply the effect evenly across all teeth. If the teeth are particularly discolored, you may need to repeat this process several times, always keeping a close eye on the result to ensure it looks natural. The whitening tool is a powerful asset, but use it judiciously to avoid an artificial appearance. It’s an excellent feature for addressing specific areas that need more attention.
Step 5 Fine-Tune the Color

After brightening the teeth, fine-tuning the color is essential for a natural look. Use the ‘Color Balance’ or ‘Hue/Saturation’ controls to remove any yellow or gray tones. Often, subtle adjustments to the yellow channel can eliminate discoloration. You can also increase the saturation slightly to give the teeth a healthy appearance. Ensure your color adjustments are consistent with the overall color scheme of the photo. If the image has a warm tone, a slight touch of warmth can make the teeth appear more natural. Conversely, for a cooler image, reduce the warmth slightly. By carefully managing the color, you can prevent the teeth from appearing overly artificial. It’s about harmonizing the teeth with the other colors present in the image.
Step 6 Smooth the Edges
Once you’ve adjusted the color and brightness, refine the edges of the teeth. Using the ‘Smudge’ or ‘Blur’ tool, gently soften any harsh lines or unnatural edges. This helps the teeth blend seamlessly into the rest of the image. Be careful not to overdo it, as excessive smoothing can make the teeth appear blurry. Focus on the areas where the teeth meet the gums and any areas where the whitening effect might look overly strong. The goal is to soften any abrupt transitions and to create a natural-looking blend. Careful edge smoothing contributes to a more realistic and appealing result. The tool’s size and intensity should be adjusted to match the scale and detail of the image.
Step 7 Add Subtle Details
Consider adding subtle details to enhance the teeth’s natural appearance. Use the ‘Dodge’ and ‘Burn’ tools to add highlights and shadows. Lightly ‘dodging’ (lightening) specific areas can create the illusion of depth and texture. Similarly, ‘burning’ (darkening) can add shadows that make the teeth look more defined. These tools require a delicate touch, so start with low opacity and gradually build up the effect. Small details can make a significant difference in achieving a realistic result. You might also use a very fine brush to add small imperfections, such as slight variations in color or texture, for an even more natural look. This helps make the teeth appear less uniform and more realistic.
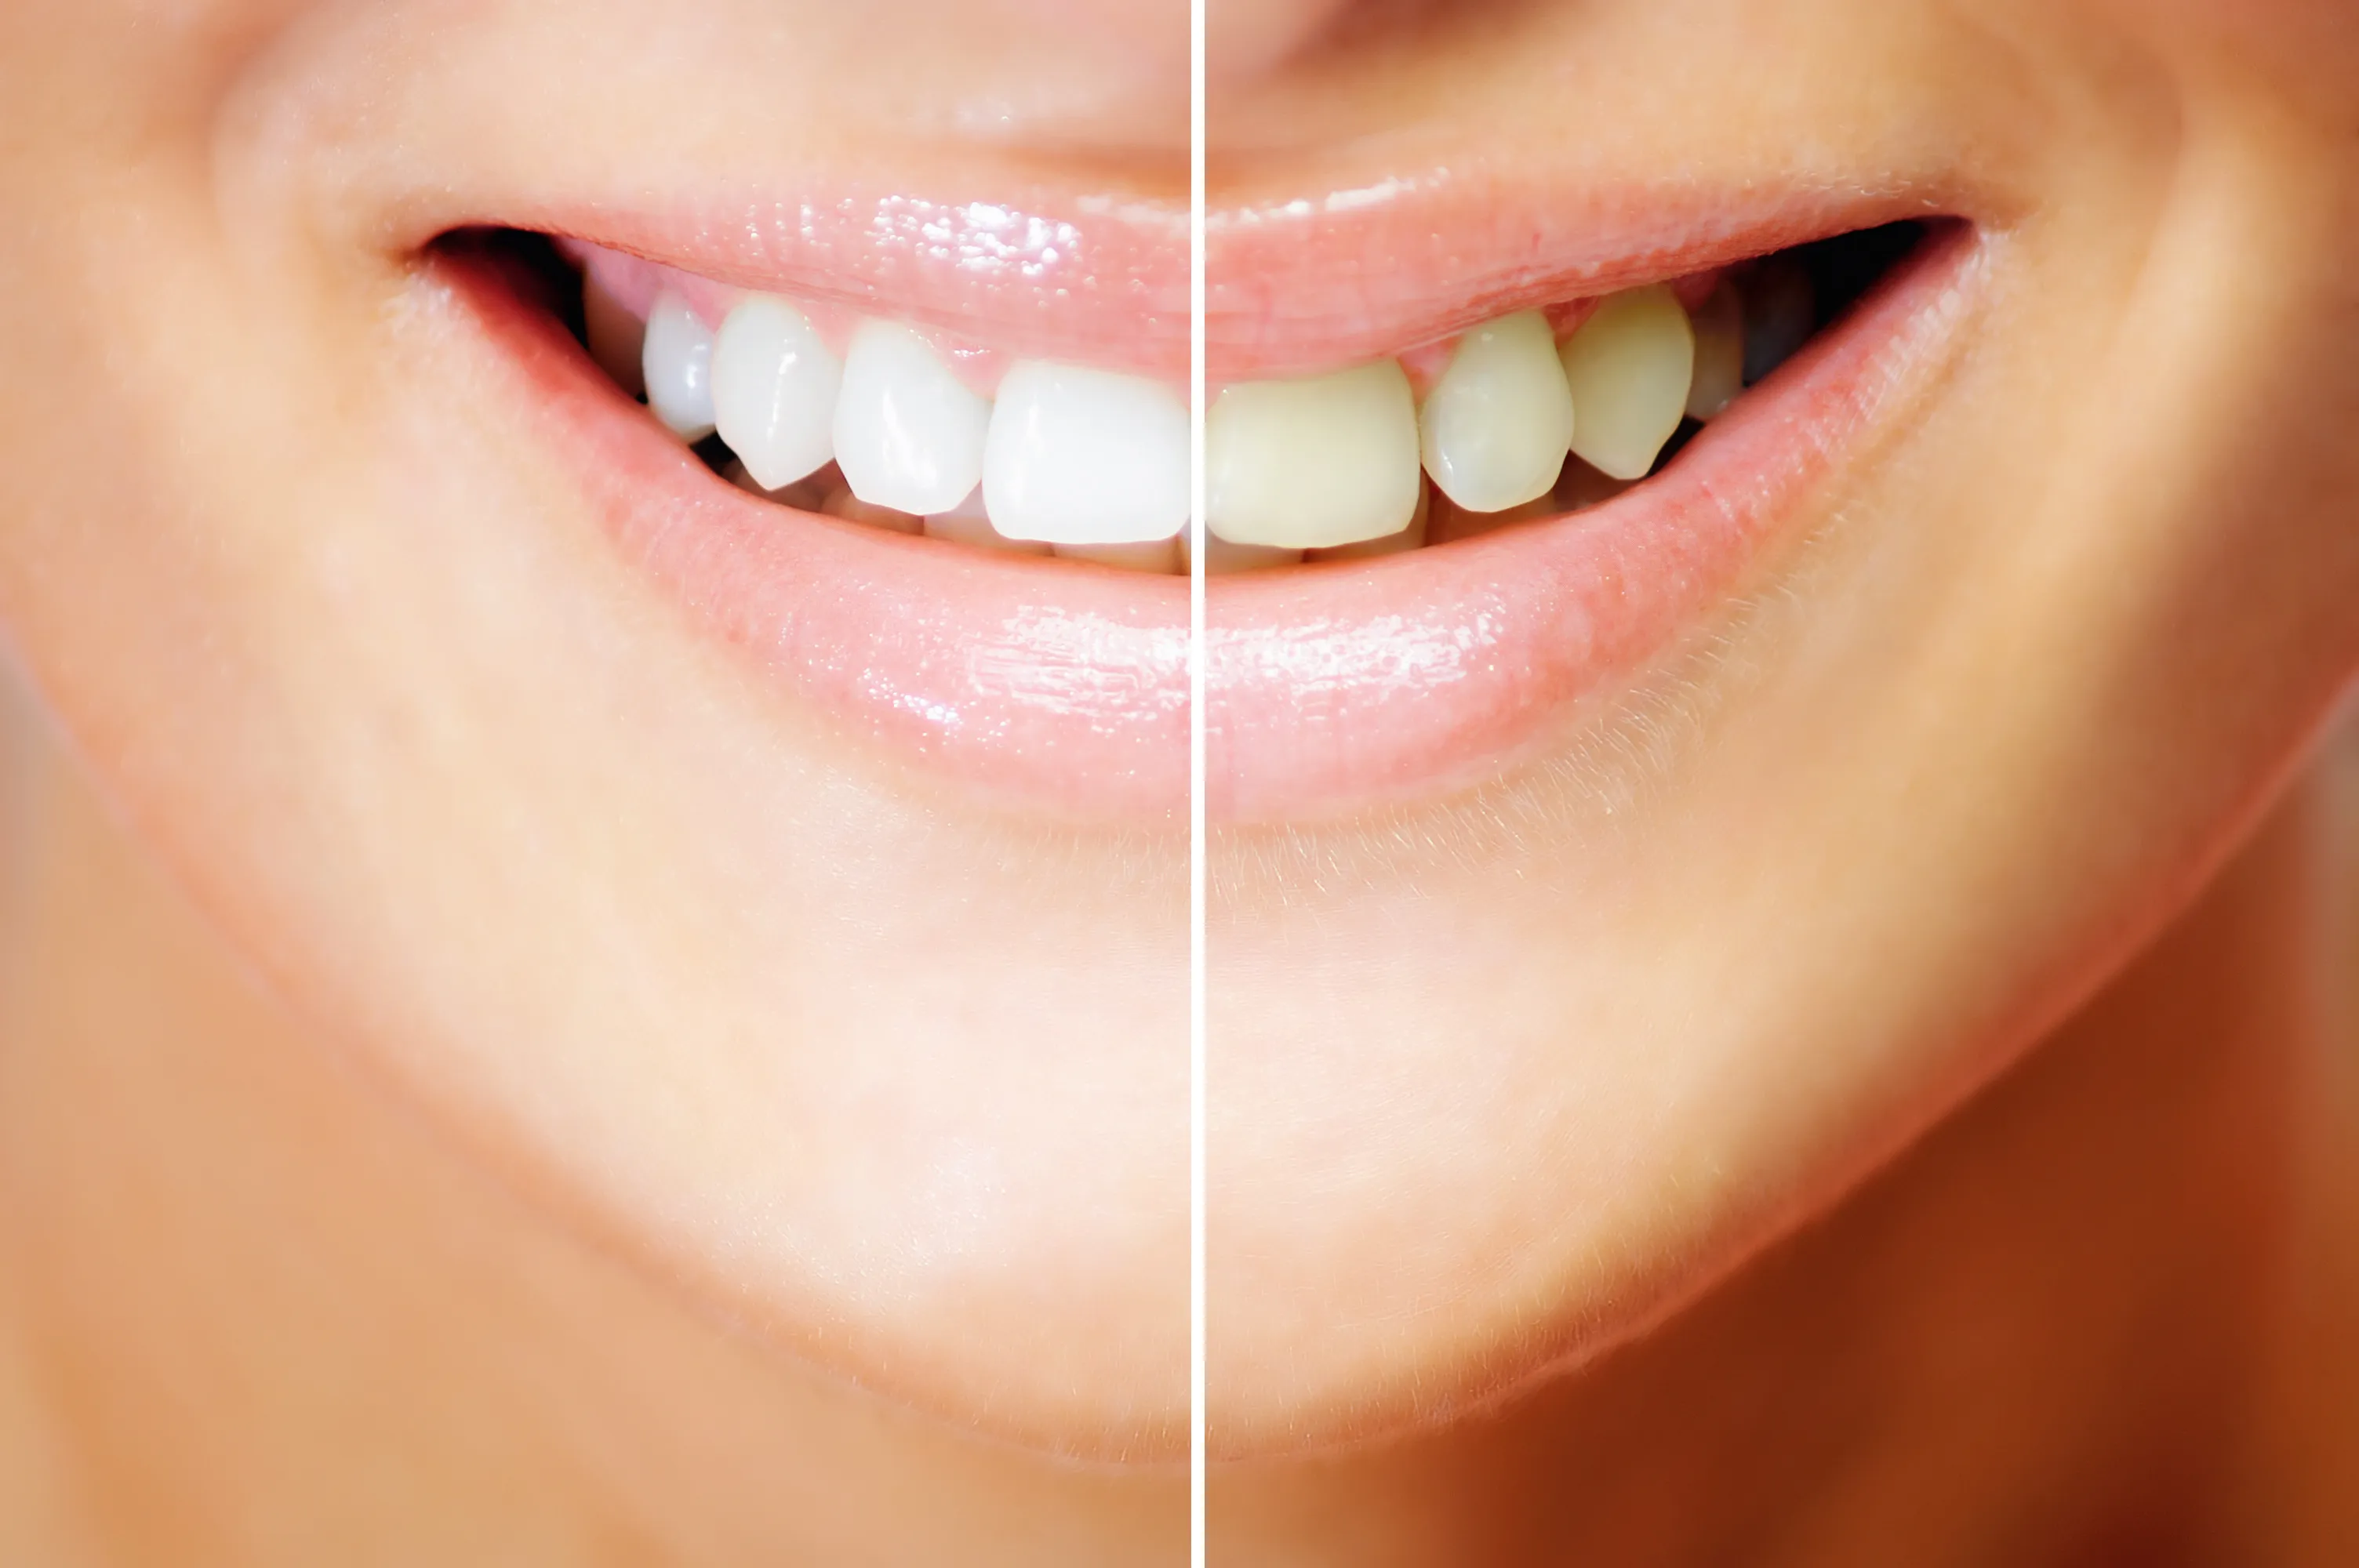
Step 8 Check for Natural Look

Before saving the final image, critically assess the results. Ensure the teeth whitening looks natural and complements the rest of the photograph. Step back from your screen, and view the image from a distance. This can help you spot any areas that look unnatural or over-edited. Compare the edited version with the original. If the teeth stand out noticeably from the rest of the image, you may need to make further adjustments. Evaluate the overall lighting, color balance, and the level of detail. The best outcome is one where the teeth appear whiter and more attractive without drawing unnecessary attention. If anything looks artificial, retrace your steps and make small adjustments.
Step 9 Save Your Edited Photo
Once you are satisfied with the results, save your edited photo. Choose a file format that suits your needs, such as JPEG for sharing online or TIFF for high-quality prints. Make sure to save a copy of your original, unedited image as well, so you have the option to revert or start over. Ensure that the resolution and image quality are appropriate for your intended use. When saving, consider where you plan to use the image. For instance, social media platforms have specific requirements for image size and resolution. If you intend to print the photo, select a high-resolution setting. Protecting your original file allows you to go back and re-edit if needed, preserving your source material.
Step 10 Practice Makes Perfect
Teeth whitening in photo editing is a skill that improves with practice. Experiment with different techniques, software, and images. Don’t be discouraged if your initial attempts aren’t perfect. The more you practice, the better you’ll become at achieving natural-looking results. Try editing different types of photos, such as portraits, group shots, and selfies. Pay attention to how different lighting conditions and angles affect the appearance of teeth. Look at examples of well-edited photos and try to replicate their techniques. Over time, you’ll develop a better understanding of the tools and techniques, and your editing skills will improve. Don’t hesitate to try new approaches and to learn from your mistakes. Each editing session offers a valuable learning experience.
Tips for Natural-Looking Results

Achieving a natural look is paramount in photo editing. Here are some tips to help you: Avoid extreme whitening; subtle changes are often more effective. Match the teeth’s brightness and color to the overall lighting of the photo. Use the brush tool or a similar feature for localized adjustments. Avoid harsh lines or unnatural edges. Blend your edits smoothly, and always take time to review your work critically. Comparing the edited image to the original will help you identify any areas that need adjustment. Less is often more when it comes to photo editing. Focus on enhancing the existing features, rather than trying to create an entirely different look. Natural-looking results involve a balanced approach that emphasizes subtle improvements over drastic transformations.
Avoiding Common Mistakes
There are several common mistakes that can lead to unnatural-looking results. Over-whitening is perhaps the most frequent. Also, avoid using the same settings across all teeth without accounting for variations in lighting. Neglecting to blend the edits seamlessly with the surrounding areas also contributes to an artificial appearance. Another error is not checking for the results across the whole image. Always be mindful of the overall balance and lighting. Excessive use of tools without precision is also another common blunder. By learning to recognize and avoid these mistakes, you can dramatically improve your photo editing skills and produce more natural-looking images.
Conclusion
Whitening teeth in photos is a powerful technique that can enhance your smile and boost your photos’ overall appeal. By following these 10 easy steps, you can achieve natural-looking results using any photo editing software. Remember that practice and patience are key. With each photo you edit, you’ll refine your skills and gain a better understanding of the techniques. Whether you are using professional software like Photoshop or a simple app on your phone, the principles remain the same. Focus on enhancing the natural appearance of your teeth, and always strive for a subtle, realistic look. With these tips, you can confidently make your smile shine.